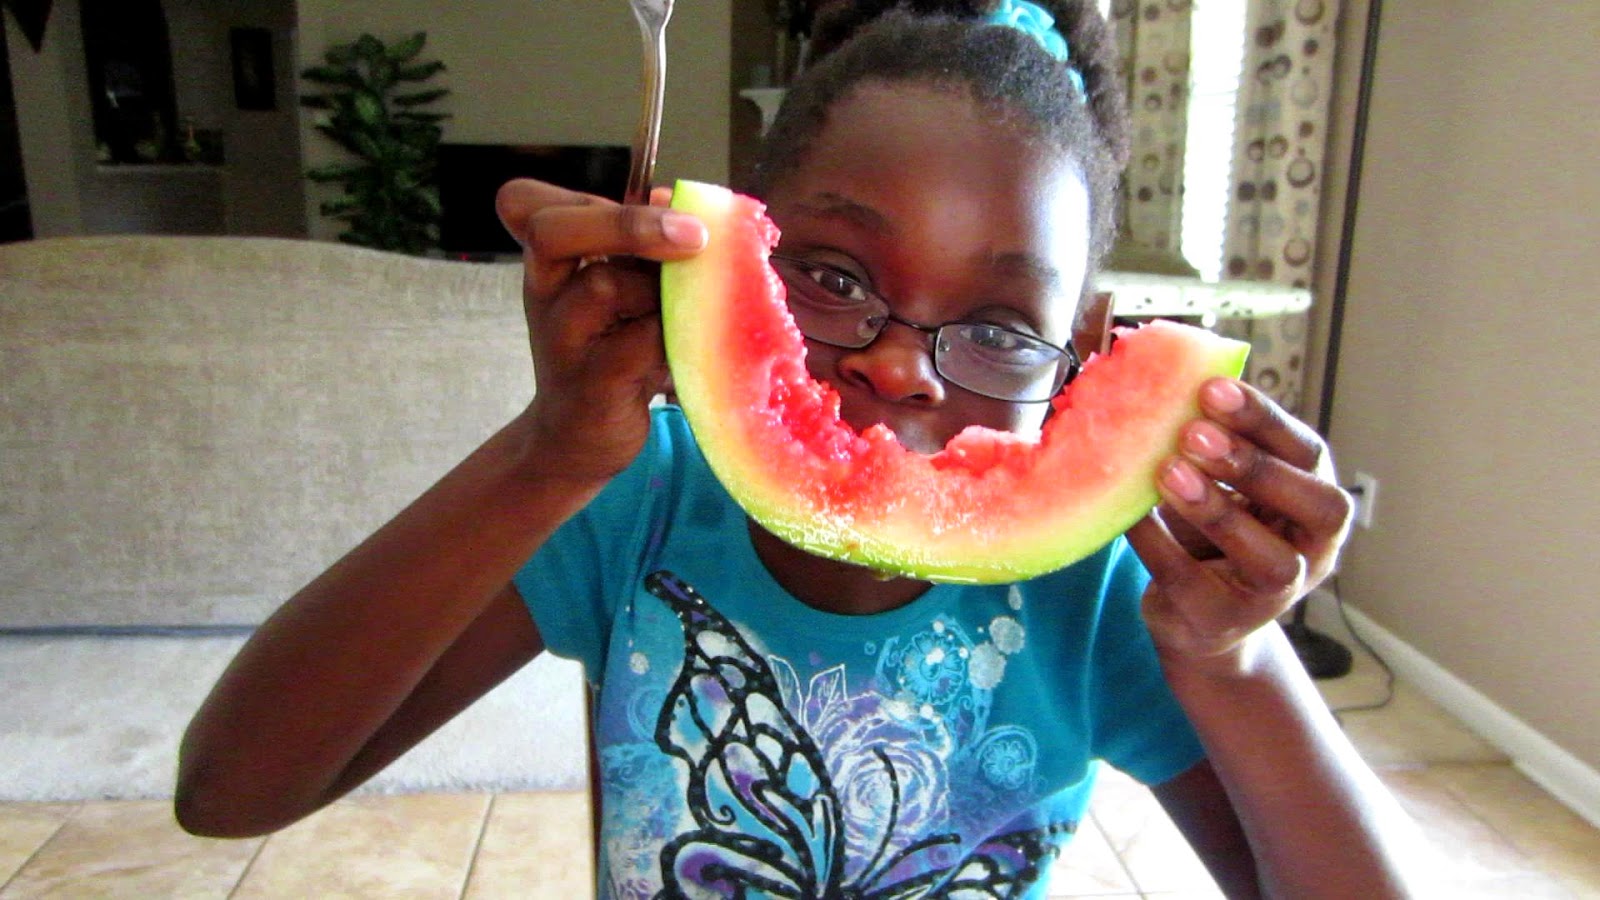
Healthy hair starts from the inside. What you put in your body matters as much as what you put on your hair. If you have some guava, try this quick recipe. I also have a GREAT TIP on how to eliminate the guava seeds from the smoothie. This smoothie is Kid friendly.
Lately, I have noticed that my ends were knotting up and with that indication, I knew that it was time for a trim. My last trim was January 3rd 2014. In the past, I had trimmed my hair while damp or wet, but decided to try using curlformers to stretch my hair and then do the trim. Kind of like straightening my hair and then trimming... LOL!
I had a few concerns (1) Wait time for my hair to fully dry in curlformers
(2) Having to comb my ends while dry
After a total dry time of 6 hours, I looked like a prutty pruncess (according to Lil Sis)
The Trimming process Taking each individual curl created by the curlformer, I snipped off about 1/2 an inch.
Sealed my ends with my Shea Aloe Butter
...and that was it!
After doing this, I took off the 4 hair holders...and I was left with a cute 'Fro!! Now I know how to get my hair to stand like a fro!!
You don't always have to do what type of hairstyle, you can mix it up!
In today's video, I showcase Big Sis's style for the week. This consists of roll and tuck and add some twists at the ends.
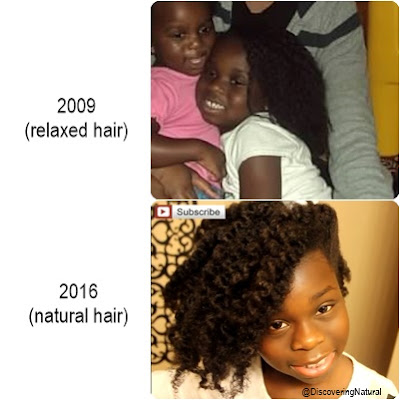
Your child's hair is texturized or relaxed and you are wondering how do you stop putting chemicals in your child's hair and make their hair completely natural.
First thing, know that you are not alone.
Let me share a little bit about myself and my older daughter, known as Big Sis on our YouTube channel, DiscoveringNatural.
When Big Sis was 4 years old, I got to a point of frustration with her natural hair. At that time, I was blind to the beauty of natural hair. Maybe I was sleep deprived due to having a newborn, Lil Sis, or maybe it was the pain I felt when I saw her cry when I did her hair. I decided to listen to "friends" who advised me that the best thing to do was to texturize her hair. It will make her hair easier to manage. Everyone is doing it. They said. And, without doing my research, I listened and went ahead.
Her hair was pretty... at first...
Cornrow out (1 month texturized hair (4 years old Big Sis))
Then after the first year of regular texturizing, her hair started breaking. By the time, it was 2 years post, her hair was no longer full and healthy, it was breaking and did not look great. I knew I had to do something... that started our transitioning journey.
Transitioning Your Child's hair is DIFFERENT from Transitioning your Hair
Why?
When you transition a child's hair, you do not want to wear styles that are manipulated daily. You want to keep the process as simple as possible. Try styling your child's hair with a style that can last 2 weeks. Styles such as threading, cornrows, flat twists, twists, will help camouflage the relaxed ends and help with growth because the hair is not being manipulated.
Big Sis - months after starting transitioning
Moisture is KEY!
Yes! Yes! Do not slack on moisturizing your child's hair. Keeping the hair moisturized will keep it from breaking. Whenever you wash her hair, make sure that you do a deep conditioning treatment to help restore moisture and keep the hair healthy.
Big Chop ONLY when your child is ready
Doing a transitioning big chop can be a big step. Make sure that your child is ready for this change. Something that helped me was doing regular trims of the relaxed ends while transitioning. This will reduce the shock factor.
The Hair will Grow Back
Remember, hair always grows back. Practice healthy hair choices and make sure that the ends are taken care of in order to retain length. Stay encouraged because when you are positive, your child will feel the same way.
A child's perspective on how it was to get her hair relaxed. Click here or watch below:
Do you have a child that is currently relaxed and you would love to transition her? What are your struggles?
I love doing DIY home treatments because it allows me to control ingredients that I put into my hair. When making these treatments, there are some essential tools that you need.
Measuring tools
Each recipe in my DIY home treatments has specific measurements. I never eye-ball my mixture because it can give different results. Due to this fact, I have an array of measuring tools ranging from teaspoons, tablespoons to cups to spoons.
pH Strips
One of the most important things you will need in your treatment is a testing strip, pH strips. These strips are used to test the pH level of your mixture. If your mixture is not in the correct range that you want, it can cause your hair cuticles to behave in different ways than you would like. Click here to learn more about pH Balance in Natural Hair
Mixing Equipment
Some mixtures call for more than spoons for mixing the treatment. For a more liquid consistency, I prefer to use my blender. This helps keeps the consistency the same through the mixture. It also helps eliminate chunks of ingredients. When using blender, I use it in a liquefy setting. If you do not have a liquefy setting, start off by blending in a slow rate, then gradually increase to the fastest/highest rate.
Fine Mesh Sieve
This tool is the one that is mostly ignored when making treatments that calls for food products such as banana and avocado. Many people complain that the reason they do not like DIY home treatments is because their mixture always leaves chunks of food debris in their hair. To avoid this, use a fine mesh sieve/strainer. This will help remove any debris that still exists even after blending your produce in liquefied setting.
Easter is just around the corner and as we are frantically putting together the final finishes to my "gift" to the girls, home-made skirts with matching headbands, I wrote two blog posts dedicated to Easter Hairstyles for Kids.
DYI Easter skirt and headband. Tutorial coming soon to DiscoveringNatural on YouTube
Click each of the links below to read and see all the different styles you can do for your kids. This styles will also work for adults
Transitioning to Natural Hair is a process of letting your new growth grow with your relaxed ends.
Let's start from the very beginning...
When it comes to knowing how to start transitioning to natural hair, you have to have a starting point. The starting point is you having relaxed hair and wondering how to convert that relaxed hair back to its natural state.
Speaking from experience, when I ventured into the great unknown which was natural hair, I didn't know what laid ahead of me. I knew that I didn't want to cut off all my relaxed hair. You would think that it would be easy for me since I just got done transitioning my daughter for a year and my youngest daughter has always been natural. But there is a difference when it comes to caring for your own hair.
Step 1: Have a Plan
Having a plan as to how I wanted to be natural, was the first step I took. I knew that I was not going to do the Big Chop; chopping off all my relaxed ends, which will only give me about 2 inches of natural hair. It was easy for me to realize that transitioning was the way to go.
Step 2: Have a Regimen
Developing a regimen early in your transitioning journey will help you have an easier transition. A regimen can be as simple as what you do daily or nightly basis, wash day, and monthly, when it comes to caring for your hair.
Step 3: Have Several Transitioning Styles
Due to the difficulty of blending your relaxed ends with your new growth, which can cause some unwarranted frustrations. If you are like me and choose to transition without the aid of extensions/attachments, wigs or weaves, having the right transitioning styles can take a lot of creativity. Know that there are many resources out there that helpful. YouTube is a great place to start when it comes to learning how to style your hair.
Step 3: Facing the Struggle
Like every new venture, transitioning can have its own challenges. Getting over these challenges can help make your transitioning period less stressful. The longer your transition, the more new growth and length you can have.
The first struggle I had when I started transitioning was the dryness I experienced. Substituting the use of shampoo that contain sulfates with sulfate free shampoo helped with reducing the dryness. Also, using conditioner to wash my hair (cowash) made my new growth soft.
Another struggle I had was with the constant tangling of my relaxed ends and my new growth. The point where the relaxed hair touches the new growth is known as the line of Demarcation. This point is prone to breakage. What helped me was finger detangling rather than using a comb.
Transitioning to natural hair can be a wonderful time for you to learn more about natural hair. Take each day at a time and learn from your mistake.
Just in time for Easter : This video shows you how to make a sock bun and in addition, how to create this elegant two tier sock buns. This style is great for Proms, weddings, flower girls, and even Dance hairstyles.
Watch this video below or click this link: https://www.youtube.com/watch?v=80pN65c-P5k
I was suppose to get my carpet cleaned, but got a call that the Carpet Cleaner will not be able to make it until later on during the day. Okay... I was not upset, because that morning during my quiet time with God, I had committed the day to His hands and I knew He was in control.
Fast forward to 1 hour later; exactly around the time the carpet cleaner was suppose to show up, my doorbell rings. It was a friend asking for a favor. Although the favor involved driving a bit far from my house, I was not upset. He was in control.
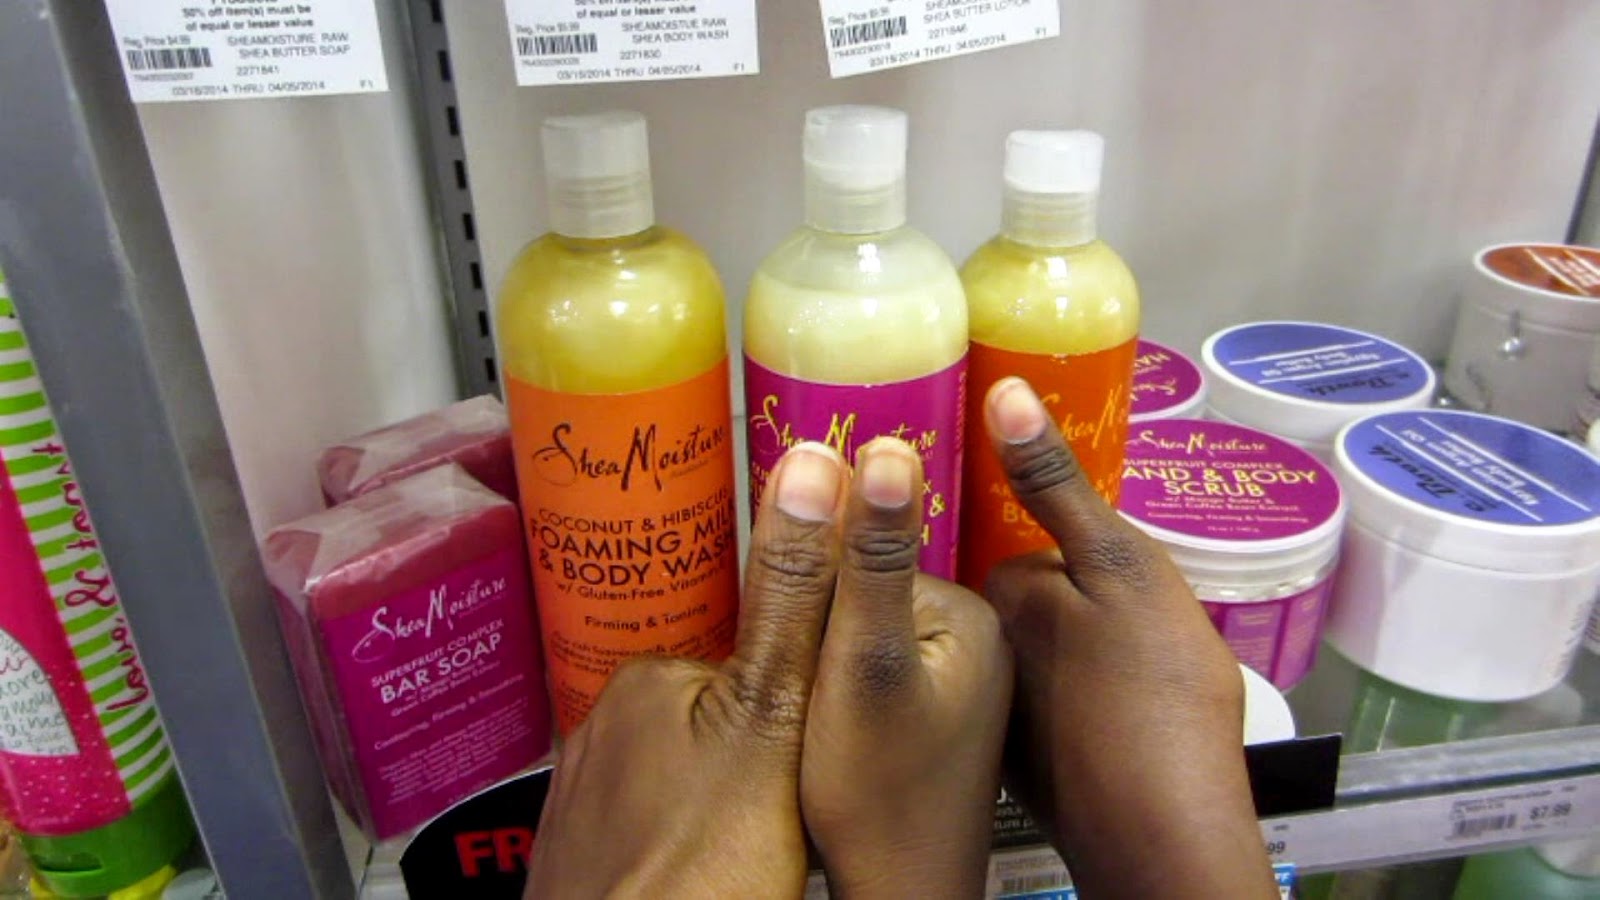
I granted the favor and as I was leaving the location, I saw a CVS Pharmacy store. Now, CVS is currently doing a BOGO Free on SheaMoisture. I had gone earlier during the week to my local CVS store and did not buy because the store only carried one of the products I really wanted; Curl and Style Milk. I entered to the store and proceeded to the ExtraBuck coupon machine. The machine was broken. I was not upset. He was in control.
Upon getting to the checkout counter, after picking up 2 of the SheaMoisture products, I told the cashier about the broken machine, he went and fixed it. Took less than a minute. The machine started printing out coupons upon coupons. I was VERY happy. He is in control.
Among the coupon that was printed was $3 off any Purchase. So, at the end of it all, I should have paid $23.36, but I paid only $8.46
2 SheaMoisture @ $10.79 each
Got 1 free
Got $3 ExtraBucks Rewards
.....Gave some money to Uncle $am I AM EXTREMELY HAPPY because HE has ALWAYS been IN CONTROL.
One of the secret of having a great style is to make it one that you can style in different ways. When it comes to cornrows, it can be quite difficult. You have to style the hair in a way that you can modify the style without restyling the actual cornrows.
I wish you goodness in the month of April.
Since we are a dual-language family, I decided to quiz the girls in their Yoruba speaking. How did they do? Watch this video below or click this link: https://www.youtube.com/watch?v=IQHZex6QBgY